Ways to Make Rays
An inspired quest to create by Cynthia LofquistIn an effort to create a radial burst I discovered a slice of design history, well, actually two slices.

 First, the Swiss Style of design is iconic and
as important to the field today as it was when it was developed in the 50’s.
Easily recognized by its characteristic asymmetrical layouts, use of the grid,
associated use of photography over illustrations, and emphasis on International
Typographic Style. Some major players are Max Miedinger, who is
responsible for Helvetica, and Josef Muller-Brockmann, influenced by Constructivism–the
next style that I will address.
First, the Swiss Style of design is iconic and
as important to the field today as it was when it was developed in the 50’s.
Easily recognized by its characteristic asymmetrical layouts, use of the grid,
associated use of photography over illustrations, and emphasis on International
Typographic Style. Some major players are Max Miedinger, who is
responsible for Helvetica, and Josef Muller-Brockmann, influenced by Constructivism–the
next style that I will address.
Second, we must look even further back to Constructivism, an activist post-WWI avant-garde movement that wanted to move the people. This socialistic style of art began in Russia in the early 20th century and influenced decades of architecture, art, film, and just about any form of expression for decades and still extends into today’s Shepard Fairy’s infamous line of OBEY . Characteristics of this style include radical political agendas and brightly colored geometric designs. Through this style we will examine the second approach to making rays.

For our purpose today we will focus on the use of a radial array of lines and concentric circles using the polar grid tool. And a second method that will simply use the Ellipse shape and stroke panel. The end design of each can have different effects from elegant and timeless, to dramatic and in your face. Both are eye catching and a must in every designer's tool belt.
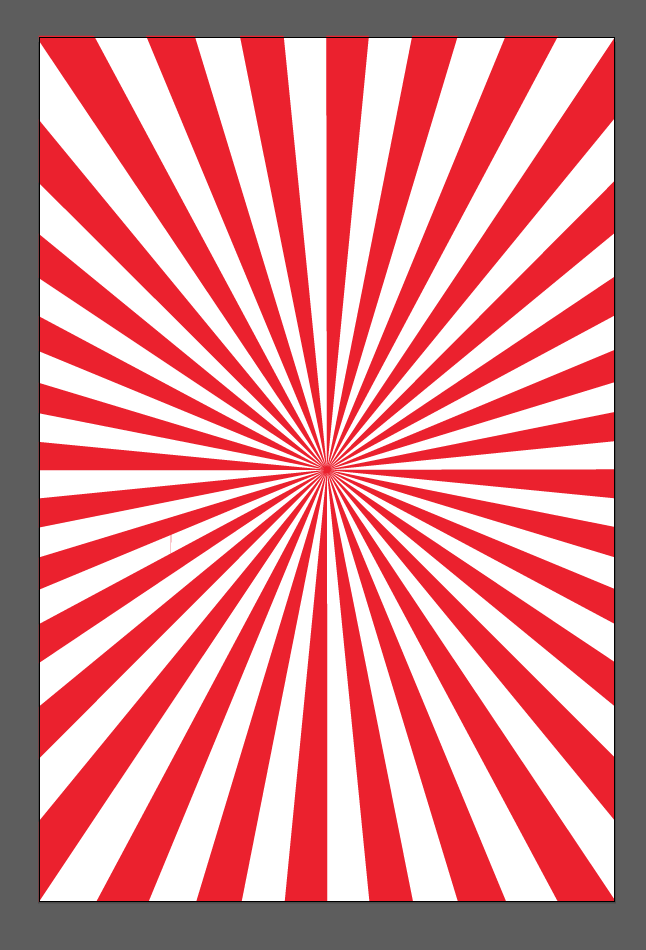
RED RAYS (for the People)
Step One
Open
a new document in Illustrator, make a circle using the Ellipse tool (L). Set the Fill to “no fill” and the Stroke
to whatever color you choose. I am going to use Red for our socialistic purpose
since Red is the color of passion and desire.

Step Two
Go
to the Stroke panel and check the Dashed box and the far right option of
dashes.
Go to Object > Expand Appearance then
Object > Expand and make sure the dialogue box that pops up has both
Fill and Stroke checked. Click OK.


Step Three
Deselect
and then with the Direct Select tool (A),
draw a rectangle that selects all the inner
anchor points (This is tricky so double check the anchor points are blue on
the inside and open on the outer circle. You can shift select to add or
subtract desired anchors.). Right click the selection and choose Average > Both from the dialogue box
that appears.
Now
all the rays meet at the center point. You are free to resize the design to
cover the entire page. Use the Alignment
panel to adjust preferred placement. Create a Clipping Mask to eliminate overhang.